
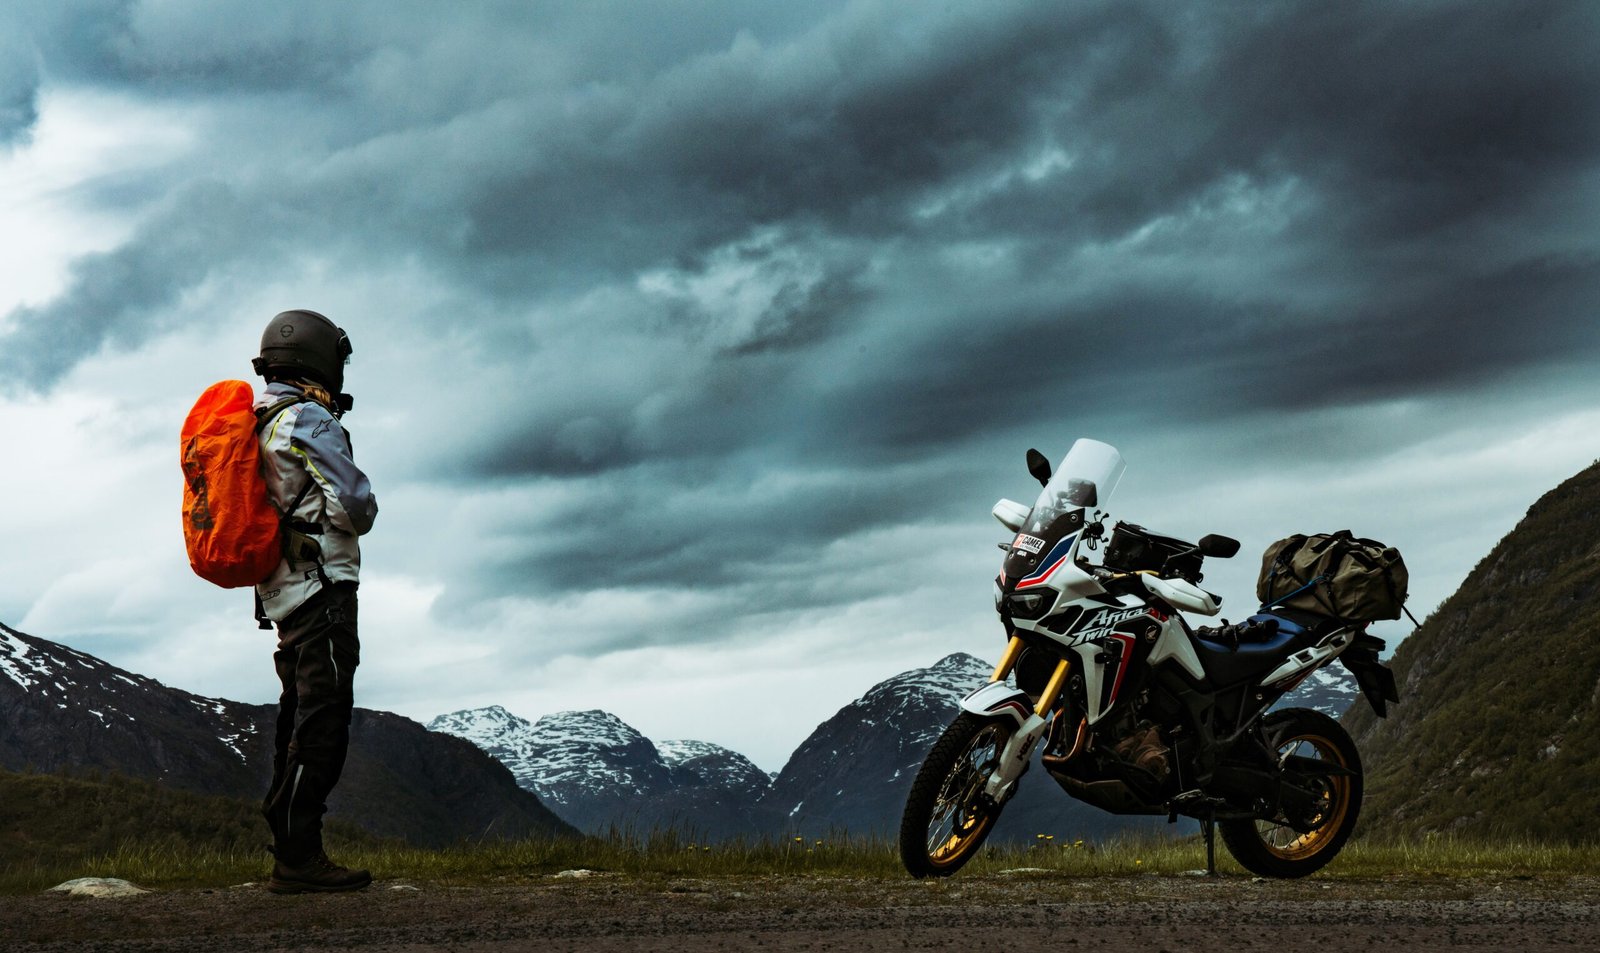
The motorcycle is not the easiest way to travel. That is the entire point.
Every other vehicle puts something between you and the road. A door, a windscreen, a cabin, a suspension system calibrated to smooth out what the road is actually doing.
The motorcycle removes all of that.
What the road does, you feel.
What the altitude does to the air, your lungs register before the altimeter on your instrument cluster does.
When the temperature drops crossing a 4,500m pass, it drops on you, not around you.
This is not a design flaw. It is the reason motorcycle touring at this level produces a quality of experience that no other vehicle format can replicate.
You are not observing the landscape from inside a vehicle.
You are part of it in a way that changes how you process every mile.
This motorcycle expedition planning guide covers everything you need to plan, prepare for, and execute a motorcycle touring; from your first serious mountain circuit to a multi-week international expedition.
| Recreational Bike Trip | Motorcycle Expedition Travel |
|---|---|
| Destination-focused | Systems-focused |
| Comfort-first | Operational readiness |
| Short-duration riding | Sustained endurance |
| Infrastructure-supported | Self-reliant |
| Minimal maintenance planning | Mechanical preparedness |
| Flexible leisure pacing | Terrain and fatigue management |
Related Field Note Journals
Motorcycle Expedition Circuits: How to Read Routes Beyond Distance
Overlanding in India: Choosing Your Vehicle, Format, and Road
Overland Expedition Planning: How to Plan One Like an Expert
The Ultimate Guide to Adventure Travel Experiences
Choosing the Motorcycle for the Terrain
The first question in motorcycle touring is not “where do I go?” It is “what am I riding, and does it match the circuit I am planning?”
Getting this wrong produces one of two outcomes:
A bike that is under-capable for the terrain (the rider manages the gap, usually successfully, but always at higher risk and higher mechanical stress), or
A bike that is over-capable for the rider’s current skill level (the machine can do more than the person on it is ready to ask of it).
The Indian market divides into five meaningful categories for touring:
Commuter-based tourers (under 200cc)
Bajaj Pulsar, Honda CB Shine, Hero Splendor variants.
These machines are everywhere on Indian roads and they can, and do go, anywhere.
The constraint is not capability; it is endurance.
A 150cc commuter is not built for 350km days on loose gravel at altitude.
The margins are tighter, the maintenance intervals shorter, and the recovery options more limited when something fails.
If this is what you have and a Himalayan circuit is your ambition, it is very well doable (as we all know), it is just a harder programme to execute safely.
Build the preparation around the machine’s limitations explicitly.
Mid-range adventure bikes (200–400cc)
The segment that has reshaped Indian motorcycle touring in the last five years.
Hero XPulse 200T, Royal Enfield Scram 411, KTM 390 Adventure, BMW G 310 GS, Bajaj Dominar 400.
These machines are purpose-built or closely purpose-adapted for mixed-terrain touring.
The XPulse 200T and Scram 411 sit at the accessible end, capable, affordable to maintain, parts available across India.
The KTM 390 Adventure and BMW G 310 GS are technically more sophisticated with better suspension travel and electronics packages.
The Dominar 400 is a sport-tourer that handles highway distances well but is less natural on technical terrain.
For most Indian overland circuits rated up to V3·O3, this segment is the practical sweet spot.
Royal Enfield Himalayan (411cc / 452cc)
Deserves its own category because it is the machine most closely associated with Indian overland touring and for good reason.
Long-travel suspension, a 21-inch front wheel, purpose-designed for mountain terrain, and a service network that reaches further into small Indian hill towns than any other manufacturer.
The 411 variant has been the standard for a decade; the 452 brings fuel injection improvements and a more refined chassis.
Its limitations are well-documented in the community: modest power at altitude, a dealership-dependent ECU for some fault resolution, and suspension that benefits significantly from an aftermarket upgrade on any circuit above O3.
What it offers in return – reliability on routes where a complex electronics system is a liability, not an asset, is worth more than the spec sheet suggests.
Mid-to-large ADV bikes (650–1000cc)
Royal Enfield Super Meteor 650, KTM 890 Adventure, Triumph Tiger 900, Honda Africa Twin (1100), BMW R 1250 GS.
These machines are the global standard for serious expedition motorcycling.
They carry more fuel, absorb more terrain, cruise more comfortably at highway speeds for long transfer days, and provide electronic aids (traction control, cornering ABS, ride modes) that genuinely matter on the conditions Indian mountain circuits produce.
Their constraints in India: cost, weight (the R 1250 GS is a 249kg machine); a tip-over recovery at altitude, alone, is a serious physical undertaking, and parts availability outside major cities.
On a Zanskar circuit or a Northeast frontier run, this segment stands to be an extraordinary machine;
These are also machines that is genuinely difficult to right on your own if it falls in deep river gravel.
Specialised off-road bikes
KTM EXC variants, Husqvarna Enduro, Royal Enfield Himalayan purpose-built rally variants.
These machines are built for technical off-road terrain and are used by a small but serious segment of Indian overland riders who specifically seek O4–O5 circuits.
They sacrifice highway comfort and tank range for terrain capability.
Unless you are specifically targeting extreme off-road terrain, these are specialist tools for a specific programme.
Buying vs Renting for an Expedition
Buying
The correct choice if you are planning more than two serious circuits over the next three to four years.
You know the machine’s history, you maintain it to your standard, you build a relationship with its specific characteristics that makes field assessment of problems faster and more accurate.
The cost of purchase amortises over multiple expeditions.
Renting
The correct choice for a first expedition, an international circuit where you cannot ship your own machine, or a specific terrain type that your own bike cannot handle.
Rental quality in India varies enormously;
from professionally maintained expedition fleets operated by established touring companies to machines with questionable service histories rented by the kilometre.
Before accepting a rental, conduct a pre-ride inspection (described in the Pre-Departure section) and document every existing mark and mechanical issue in writing and on video.
Readiness Self-Assessment
Before you plan a route, rate yourself honestly against the six rider axes.
The VANCROS rating of a circuit tells you what the road demands.
Your personal readiness profile tells you whether you are ready to meet it.
Self-rating your machine: Vehicle (Vn)
Know your bike’s capabilities, specific ground clearance figure, not an approximation.
Know whether your tyres are road-biased (T) or all-terrain (AT) and what that means for the gravel and river sections on your planned circuit.
Know when your chain, sprockets, brake pads, and tyres were last replaced and how many kilometres each has left at the riding pace you maintain.
If you cannot answer these questions from memory, your V self-rating is lower than you think.
Your Body and Your Bike at Altitude: Altitude (An)
Have you ridden above 4,000m before?
Have you spent a night above 3,500m and assessed how your body responds?
Do you know how your specific bike’s fuel delivery (carburetted vs fuel-injected) behaves at altitude?
A carburetted engine will run rich at high altitude;
Knowing whether your bike needs rejetting before a high-altitude circuit is a V and A axis question simultaneously.
Your Current Navigation Practice: Navigation (Nn)
What tools do you currently use to navigate?
Phone with data (N1). Phone with offline maps (N2). Dedicated handlebar-mounted GPS with pre-loaded tracks (N3). Dedicated GPS plus paper topo plus magnetic compass (N4 – N5).
If you have never navigated with offline maps on a route where mobile data was genuinely absent, your current N-rating is N1 regardless of how confident you feel.
Your Spares and Fuel Planning: Commodity (Cn)
Do you carry a spares kit? Does it contain the specific parts most likely to fail on your bike?
Can you replace a clutch cable, a throttle cable, and a rear brake lever on the side of the road?
Can you plug a tubeless tyre in under 20 minutes?
If not, your C self-rating is C1 regardless of how well-stocked the kit you packed is.
Your Emergency Protocols: Remoteness (Rn)
Do you file a trip plan before a serious circuit?
Does someone outside the route know your daily stage schedule and the point at which they should initiate an emergency call if they have not heard from you?
What kind of communication device you carry or solely rely on mobile network? Do you carry a radio or a satellite communication device on R4 – R5 circuits?
If none of these are current practice, your R self-rating is R1.
Your Terrain Experience: Obstacle (On)
What is the most technically demanding surface you have ridden confidently?
Graded gravel (O2). Loose shale with exposure (O3). Boulder field with water crossings (O4). Extreme off-road with deep river fords (O5).
Rate yourself at the level you have completed multiple times with confidence, not the level you managed once under adrenaline.
Your Weather and Condition Experience: Season (Sn)
Have you ridden in sustained rain at altitude? In hail? In sub-zero temperatures at a morning start?
The rider who has only ever ridden in good conditions has an S self-rating of S1 regardless of their machine’s capability.
Read the VANCROS Rated circuits in India and Internationally >>> Motorcycle Expedition Circuits: How to Read Routes Beyond Distance
Pre-Departure Preparation
Mechanical Inspection Checklist
Run this inspection before every expedition, on your own machine or a rental.
If you cannot perform these checks yourself, learn to.
The alternative is depending entirely on someone else’s assessment of the machine you are trusting your life to.
Tyres:
- Tread depth: minimum 3mm for mountain gravel circuits; 4mm+ for sustained loose terrain
- Tyre pressure: know the correct cold-pressure for your load; carry a quality gauge, petrol station gauges are not accurate enough
- Tubeless repair kit: plugs, cement, CO2 cartridges or pump; test the kit before departure, not on the road
- Spare tube: carry one, even on a tubeless setup; a sidewall failure on a tubeless tyre requires a tube to get you to safety
Chain and sprockets:
- Chain slack: measure and adjust to manufacturer spec; a chain that is too tight fails; a chain that is too loose jumps at the worst moment
- Sprocket wear: shark-fin teeth profile means replacement due; a chain on worn sprockets is a system failure waiting to happen
- Chain lubrication: clean and lubricate before departure; carry a compact chain lube for multi-week circuits
Brakes:
- Pad thickness: minimum 3mm before a mountain circuit; front and rear
- Brake fluid: check level and colour; dark brown fluid is degraded and should be replaced before a high-altitude circuit where brake heat management is a real variable
- Brake lever and pedal feel: consistent pressure response with no sponginess
Engine and drivetrain:
- Engine oil: level and condition; for a multi-week circuit, carry one litre of the correct grade
- Coolant: level check for liquid-cooled machines; top up with distilled water or correct coolant only, never plain water in a Himalayan circuit that will see sub-zero overnight temperatures
- Air filter: clean or replace before a dusty circuit; a clogged filter at altitude is an avoidable power loss
- Spark plugs: know when they were last replaced; carry one spare for carburetted engines
Electrical:
- Battery: load-test if the bike is more than two years old; cold-start failures at altitude on a weak battery are extremely common
- All lights: front, rear, indicators, instrument cluster; a failed headlight on a Himalayan circuit is a serious safety issue, not an inconvenience
- USB/12V charging: if you run a GPS or phone mount from the bike’s electrical system, ensure the fuse rating and wiring are correct for the load
Controls and cables:
- Throttle cable: smooth operation, no fraying at either end; carry a spare
- Clutch cable: smooth operation; carry a spare
- Brake cables (on cable-braked systems): check for fraying at the lever and at the caliper
- All fasteners: spend 30 minutes going over the bike with a torque wrench; vibration on rough roads loosens fasteners faster than any other force
Documentation Checklist
| Document | Notes |
|---|---|
| Driving licence | Original; ensure bike category endorsement is current |
| RC (Registration Certificate) | Original; required at every state border and many hill checkposts |
| Insurance certificate | Current policy period; third-party minimum; comprehensive strongly recommended for expedition circuits |
| PUC (Pollution Under Control) certificate | Required; often checked at state entry points |
| Inner Line Permit (ILP) | Required for Arunachal Pradesh (all Indians); check current requirements for Ladakh restricted zones |
| Protected Area Permit (PAP) | Foreign nationals; verify requirements for specific circuit |
| Emergency contacts card | Laminated; inside jacket and inside pannier; includes blood group, allergies, emergency contact, insurance policy number |
Gear and Accessories
The Non-negotiable Safety Gear
On a motorcycle, your gear is your crumple zone. This is not a metaphor.
At 40km/h on a gravel surface, the difference between full gear and no gear is the difference between walking away and not.
Helmet
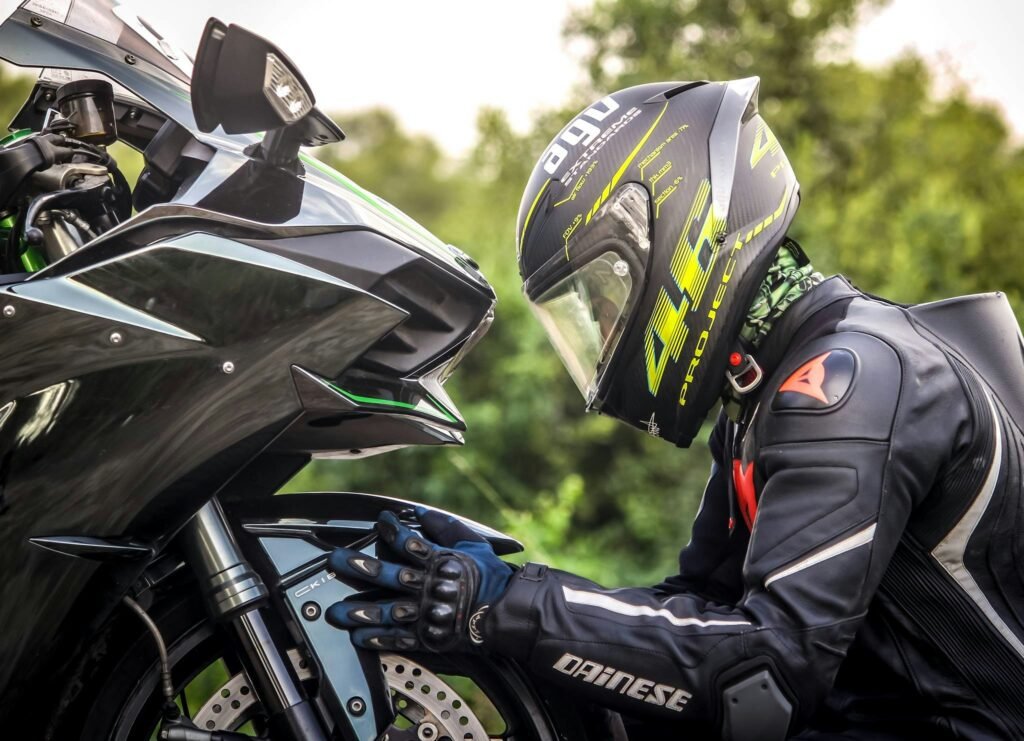
A full-face helmet is the minimum for any mountain circuit.
Adventure helmets (dual-sport), designed for both road and off-road use, are the correct format for mixed-terrain touring.
Key considerations:
ECE 22.06 or DOT/SNELL certification;
proper fit (a helmet that moves when you shake your head is not fitted correctly);
visor that seals against dust and rain;
internal sun visor for high-altitude glare.
Budget for a quality helmet before every other piece of gear. The helmet is where the money goes first.
Jacket
Adventure or touring jacket with CE Level 2 armour at shoulders, elbows, and back.
Waterproof outer layer or separate waterproof shell that packs small.
Thermal liner for altitude. Ventilation for the descent into hot lower valleys.
The jacket that is correct for a Himalayan circuit operates across a temperature range from -5°C at a high pass to 35°C at the valley floor.
Layering strategy, not a single garment, is the answer.
Riding trousers
CE Level 2 armour at knees and hips. Waterproof or quick-drying synthetic. Cargo pockets that function with gloves on. Zip-attachment to jacket recommended to prevent the jacket riding up in a slide.
Gloves
Two pairs minimum: a waterproof touring glove for wet and cold conditions; a lighter, more dexterous glove for warm dry conditions where feel at the controls matters more than insulation.
CE Level 1 minimum; CE Level 2 if you are riding technical terrain.
Boots
Adventure/enduro boots with ankle support, oil-resistant sole, and waterproof membrane.
The single most under-invested piece of gear in Indian motorcycle touring.
A twisted ankle from an inadequate boot in a river crossing, three days from the nearest town, is a circuit-ending event.
Base layers
Merino wool or moisture-wicking synthetic.
Cotton kills at altitude, it holds sweat, dries slowly, and conducts cold against the skin.
Two sets minimum for multi-day circuits.
High-altitude gear additions
- Balaclava or neck gaiter: for pass crossings above 4,000m
- Insulated glove liners: for sub-zero morning starts
- Hand guards on the bike: these are a mechanical addition (not clothing) but they are essential for cold passes and loose terrain; they protect the hands from wind chill and from handlebar impacts in a fall
Luggage Guide: Packing Philosophy and Setup
The most common mistake in motorcycle packing is thinking about capacity first.
Think about weight distribution first. Everything else follows from that.
The Weight Distribution Rule
Heavy items go low and close to the bike’s centreline.
Dense items (tools, spares, water, fuel) belong in panniers at the lowest possible mounting point, balanced equally left and right.
Light, bulky items (sleeping bag, tent, clothing) go in the tail pack or top box where their weight has less effect on handling.
A bike that is heavy at the tail and high is slow to turn and unstable on loose terrain.
A bike that is heavy and low handles close to its unladen character.
Luggage Formats
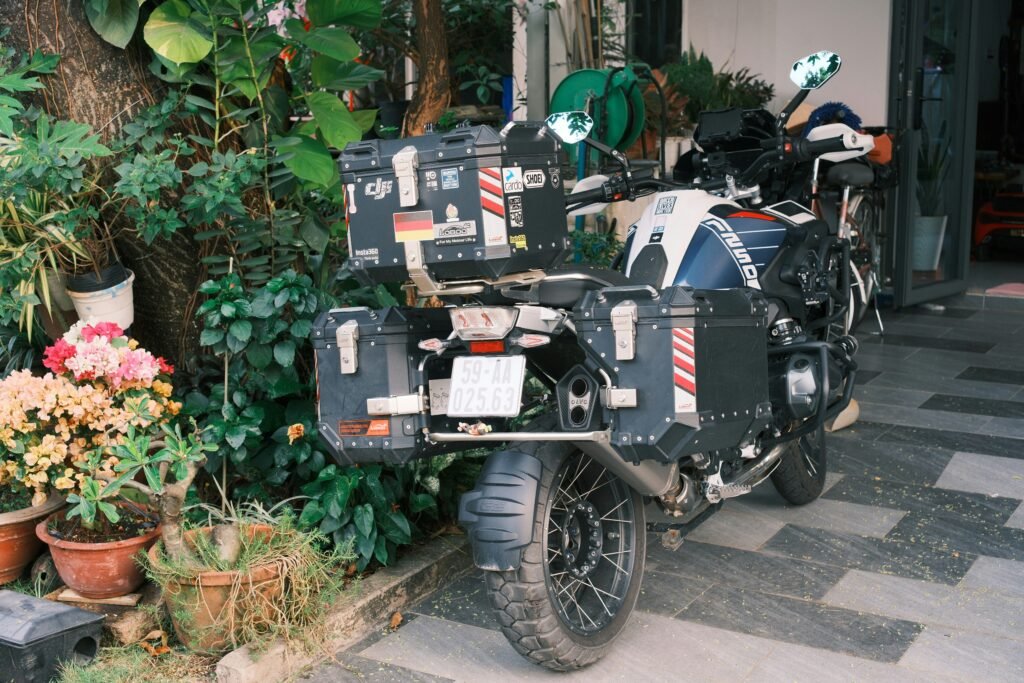
Hard panniers (aluminium or polycarbonate)
The gold standard for expedition touring.
Impact-resistant, waterproof when sealed, lockable, and durable enough to function as a step to access the top of a fully-loaded bike.
The constraints:
weight – aluminium panniers add 4–6kg before packing;
width – wide panniers change the bike’s effective width on narrow mountain tracks; and cost.
Aluminium panniers from Touratech, SW-Motech, or Givi for the expedition tier; Jesse Luggage and India-manufactured options for the mid-range.
Soft panniers (dry bags in a frame)
Lighter than hard panniers, more flexible in compression and shape, often more affordable.
Waterproof if the bag is quality.
Less impact-resistant – a fall on hard panniers slides; a fall on soft panniers can damage contents.
The correct choice for riders who value reduced weight over maximum protection.
Tank bag
The most accessible storage position on the bike;
reachable without dismounting, visible without turning your head.
Use it for: documents, snacks, phone (in a transparent window), sunscreen, and anything you need to access frequently during the day.
Keep it light, a heavy tank bag shifts weight forward and changes the steering feel.
Tail pack / top case
Lightweight, bulky items. Camping gear, spare clothing, rain gear. The tail pack is the last thing on the bike and the first thing off. Use it for anything you need at the campsite that you do not need during the day’s riding.
Dry bags as internal liners
Regardless of luggage format, pack everything inside separate dry bags colour-coded by category.
This means never unpacking an entire pannier to find one item, and knowing without looking which colour bag contains your medical kit, which contains your electronics, and which contains your tools.
Weight Ceiling
Total loaded weight on any motorcycle should not exceed Gross Vehicle Weight (GVW) – Kerb Weight plus actual Cargo Weight and riders.
At altitude, where power output drops, this ceiling is tighter, aim for the lesser range on any circuit above A4.
The Packing Priority Sequence
- Safety gear (always on or immediately accessible)
- Tools and spares (lowest and most accessible — you need these in a hurry)
- Navigation and electronics (tank bag and secure mount)
- Emergency kit and first aid (separate dry bag; known location to anyone riding with you)
- Food and water for the day (accessible without stopping)
- Camp kit (tail pack or top bag)
- Clothing (last in, last out – fills the remaining space)
Recovery: When Things Go Wrong
Recovery on a motorcycle expedition is a different discipline from recovery in a 4×4.
You cannot carry a winch. You cannot carry traction boards.
Your recovery toolkit is your hands, your skills, and the specific spares that get your machine moving again.
That list is shorter than you think and more important than any other gear decision you make.
Trail Toolkit: Roadside fixes in 20 minutes
These are the repairs you need to execute on the side of a mountain road, potentially in wind and rain, with limited light and no workshop.
Everything in this list should be practiced at home before it is needed in the field.
| Item | Purpose |
|---|---|
| Tyre plugs (10+), cement, and insertion tool | Tubeless puncture repair; the most common field repair on any gravel circuit |
| CO2 cartridges (4+) or compact hand pump | Re-inflate after plug repair; CO2 is faster, pump is more reliable for multiple uses |
| Spare tube (correct size for rear wheel) | Sidewall failures and tyre destruction require a tube; know how to fit it |
| Tyre levers (2) | For tube installation; nylon to avoid rim damage |
| Clutch cable (specific to your bike) | Single most common mechanical failure on Himalayan circuits; 15-minute swap |
| Throttle cable (specific to your bike) | Second most common cable failure; know your routing before you need it |
| Rear brake lever | Snaps in falls on the rocky sections; bolt-on replacement |
| Brake lever (front) | Same; carry one |
| Chain quick-link (correct pitch for your chain) | For chain break repairs; know how to use a chain tool |
| Chain tool | For removing and installing links |
| Fuse set (full assortment for your bike’s fuse box) | Electrical failures at altitude; know which fuse governs which circuit |
| Duct tape (heavy duty, 5m) | Emergency fixes across every category; split hose, cracked fairing, cable management |
| Cable ties (20+, mixed sizes) | Structural emergency repairs; secure loose cables and panels |
| Multi-tool (Leatherman or equivalent) | Pliers, screwdrivers, knife, saw, the one tool that covers everything else |
| Torque wrench (compact, T-handle) with correct sockets | For fasteners that vibration has worked loose, more common than any mechanical failure |
| Tyre pressure gauge (quality, mechanical) | Not a luxury; the petrol station gauge will not give you the accuracy you need at altitude |
| Spoke wrench (if your bike has wire wheels) | Spokes work loose on rough terrain; a loose spoke breaks others |
Field Repair Kit: Fixes that get you to the next town
| Item | Purpose |
|---|---|
| Spark plug(s) (correct spec for your engine) | For carburetted engines; a fouled plug at altitude is common; know the gap |
| Engine oil (1 litre, correct grade) | For top-up after oil consumption on a hot climb; multi-week circuits use more than you expect |
| Brake fluid (100ml, correct spec) | For hydraulic brake systems; carry a bleed kit if you will be doing extended mountain descents |
| Air filter (foam or paper depending on your bike) | For dusty circuits above C3; a clogged filter is power and efficiency loss |
| Electrical tape and self-amalgamating tape | For wire repair and waterproofing electrical connections |
| Small adjustable spanner | For nuts that your socket set does not cover |
| Spare master link for chain | In addition to the quick-link; a destroyed chain section requires this |
| JB Weld (two-part epoxy) | Emergency metal repairs, cracked cases, broken mounts; that cannot be welded in the field |
| Zip ties (heavy duty) | Structural emergency use, securing a cracked frame piece, a broken pannier mount |
Expedition Spares: Carry because no one on the circuit stocks these
These are the parts specific to your bike that are not available in a small hill town workshop.
The list differs significantly by model, do the research for your specific machine before packing.
Royal Enfield Himalayan specific
Rear sprocket bolts (work loose on rough terrain), stator coil (known failure point on older units), throttle body connector (for fuel-injected variants), oil drain plug washer, gear lever pivot bolt.
KTM 390 Adventure specific
WP suspension seals (the suspension is good; the seals wear faster than on simpler units), clutch lever assembly, all critical fasteners in a threadlocked spares bag.
For all bikes
Handlebar grips (tear in a fall), mirror (snaps in a fall, needs functional replacement for legal riding), headlight bulb (LED units are more reliable; carry one for older halogen setups), tail light / indicator bulb set.
Consumables: The list that solves more problems than the toolkit
| Item | Quantity for a 2-week circuit |
|---|---|
| Engine oil (correct grade) | 2 litres |
| Chain lube | 1 compact aerosol |
| Brake fluid | 100ml |
| Clutch fluid (if separate reservoir) | 50ml |
| Coolant concentrate (liquid-cooled bikes) | 200ml |
| WD-40 or equivalent penetrant | 1 small aerosol |
| Contact cleaner (electrical connections) | 1 small aerosol |
| Duct tape | 5m on a compact roll |
| Cable ties | 20+ |
| Zip ties (structural weight) | 10 |
| Safety pins | 10 |
| Threadlock (Loctite blue, medium strength) | 1 small tube |
Motorcycle Self-recovery Techniques
Picking up a fallen bike alone
A loaded touring motorcycle can weigh 300kg+.
The technique for solo recovery, crouch at the seat, back to the bike, use leg drive not back lift, rock to gain momentum; should be practised before the circuit with a loaded bike.
A rider who cannot recover their fallen machine alone has an R self-rating that is lower than they realise.
Tyre plug in the field
Practise at home until the process:
locate puncture, insert plug tool, cement the plug, re-inflate, check pressure; takes under 15 minutes.
On a wet mountain road with wind, 15 minutes becomes the test.
River crossing technique
Stand on the pegs. Maintain steady momentum, neither too fast nor too slow.
Do not use the front brake in water. Look at the exit point, not the water.
Walk the crossing on foot first for anything above knee depth.
If the water is moving fast and above the knee, this crossing is not for today.
When to call for help
Engine failure you cannot diagnose in 30 minutes.
A structural frame crack. Any injury that limits your ability to control the bike. Any condition where pushing the machine to safety requires more distance or terrain than you can physically manage.
The decision to call for help early is always correct. The decision to delay until a marginal situation becomes critical is rarely recoverable.
Emergency Protocols
Satellite communication
On any circuit rated R4 or above, a satellite communicator (Garmin inReach Mini 2, SPOT Gen4, or equivalent) is not optional equipment.
It is the difference between a rescue that takes 6 hours and a rescue that takes 72.
Set up a daily check-in protocol with your emergency contact before departure; a specific time at which you send a position ping.
The absence of that ping triggers the emergency call.
Trip filing
Before any R3+ circuit, file a complete trip plan with someone outside the route.
Include: your daily stage schedule; the specific campsite or accommodation for each night;
the emergency contact number for the nearest BRO or police outpost on each section;
your vehicle details; your blood group; and the specific condition (missed check-in + time threshold) at which they initiate emergency notification.
This is not bureaucracy. It is the plan that works when everything else has failed.
Skills to Build Before You Go
Riding Skills
Off-road Technique Fundamentals
Standing on the pegs on rough terrain distributes your weight through the bike’s suspension rather than through your spine.
It also gives you the ability to use your legs as additional suspension when the surface changes suddenly.
If you have only ever ridden seated, the first time you need to stand on loose gravel at 4,000m is not the right time to learn.
Practise on an easy dirt track near your base city before planning any circuit above O3.
Slow Speed Control
The Himalayan circuit is not a fast road.
The technical sections require precise slow-speed control, the ability to maintain balance and direction at near-walking pace on loose, uneven surface.
Practise U-turns and low-speed manoeuvres with a loaded bike.
Braking Technique on Loose Surface
Trail braking – progressive front brake application while the bike is still leaning, is a road skill.
On loose surface, front brake application while cornering causes the front wheel to wash out.
Learn to read the surface and adjust braking technique accordingly.
This is not advanced motorcycling; it is intermediate motorcycling that most road riders have never had to develop.
River Crossing
Covered in the recovery section. Practise in shallow, slow-moving water before attempting any ford above O3 depth.
Navigation Skills
Offline map navigation
Download OsmAnd or http://Maps.me on your phone and practise navigating a known route using only the offline map with no data connection.
Then do the same route on a dedicated GPS device with a pre-loaded track.
Build the habit of cross-referencing the GPS track against the actual terrain before committing to a junction.
The GPS shows you where the track says you should go. The terrain shows you what is actually there.
Pre-loading Tracks
Learn to import GPX tracks from community sources (Wikiloc, community forums, personal sharing) into your GPS device before departure.
A track that exists only on someone else’s device is useless when you need it.
Verify that the track you have loaded matches the route you intend to ride by reviewing it on Google Earth or a topo map before you leave.
Mechanical Skills
The top three skills that pay for themselves on every expedition circuit:
Tyre plug
15 minutes from puncture to riding. Practise until it is below that.
Clutch cable replacement
Know the routing on your specific bike. Practise the replacement at home with a time target of 20 minutes.
The clutch cable fails more often than any other single component on mountain circuits.
Chain adjustment
Know the correct slack specification for your bike.
Know how to measure it and adjust it using the chain adjusters on the swingarm.
A chain that runs too tight or too loose on a rough circuit will fail earlier than one that is correctly maintained.
| Essential Skill | Why It Matters |
|---|---|
| Tyre plug repair | Fast puncture recovery |
| Chain adjustment | Prevent drivetrain failure |
| Clutch cable replacement | Common mountain failure point |
| Basic electrical troubleshooting | Remote failure management |
| Brake inspection | Safety in high-altitude descents |
Frequently Asked Questions
What is motorcycle expedition travel?
Motorcycle expedition travel is a form of long-distance self-reliant travel where riders navigate remote terrain, changing weather, logistical uncertainty, and endurance demands using motorcycles as expedition platforms.
How is motorcycle expedition travel different from a bike trip?
A conventional bike trip is usually destination-focused and infrastructure-supported, while motorcycle expeditions involve operational independence, remote terrain management, route planning, and sustained endurance riding.
What motorcycle is best for expedition travel?
The best expedition motorcycle depends on terrain, reliability, fuel range, maintenance simplicity, rider experience, and load management rather than engine size alone.
What mechanical skills should motorcycle expedition riders know?
Essential expedition skills include puncture repair, chain adjustment, clutch cable replacement, basic electrical troubleshooting, brake inspection, and field-level maintenance.
Why is fatigue management important during motorcycle expeditions?
Fatigue affects reaction time, judgement, navigation accuracy, and physical coordination. In remote terrain, poor fatigue management can become more dangerous than difficult riding conditions themselves.
Is high-altitude riding different from normal riding?
Yes. High altitude affects rider stamina, oxygen levels, concentration, weather exposure, and motorcycle performance, especially on steep mountain routes and long-distance Himalayan circuits.
What luggage systems work best for motorcycle expeditions?
Effective expedition luggage systems prioritize weight distribution, weather resistance, repairability, accessibility, and riding stability rather than maximum storage volume.
What is the biggest mistake beginners make during motorcycle expeditions?
Beginners often overestimate daily riding capacity while underestimating fatigue, terrain complexity, weather changes, mechanical wear, and recovery time requirements.